TL;DR — The moment you approve a sample, it stops being a shoe and becomes the contract: bulk production will be judged against it. Before you sign off, check 15 things across four groups — materials and surfaces, stitching and construction, fit and sizing, packaging and paperwork — then seal the approval properly: two signed reference samples, one with you, one on the factory floor.
We covered sample costs and timelines in a previous guide. This one is about the moment after the courier delivers: the approval check. Most "bulk production didn't match the sample" disputes we hear about from buyers were lost at this moment — not because the factory cheated, but because the approval was a quick look and a "looks good," with nothing written down. Here is the checklist we walk our own buyers through, in the order that catches the most problems.
1. Why the Sign-Off Matters More Than the Sample
Once you approve, the sample becomes the reference standard for the entire run — the thing your arrival inspection will compare bulk production against. Anything you did not check, you implicitly approved: the lining color, the stitch density, the box it ships in. A thorough approval costs you an afternoon. A sloppy one can cost you a container. So before the checklist itself: plan to approve slowly, in daylight, with the order spec sheet next to you — and photograph everything as you go.
2. Materials & Surfaces (Check 1–4)
- 1. Leather grain and finish. Compare the upper against the material swatch you selected — grain texture, sheen, hand feel. If you ordered top-grain, check for the tell-tale plastic-like uniform coating of corrected leather (the fold test takes ten seconds).
- 2. Color under two lights. Check the color against your reference under both daylight and indoor light. Dye lots shift; what matches under your office lamp may drift in sunlight. If the batch dye lot is yours, note its code for reorders.
- 3. Lining and insole materials. The most commonly downgraded parts, because buyers look at the outside. Pull back the collar, check the lining material against spec, press the insole — is the padding what was quoted?
- 4. Hardware and smell. Buckles, eyelets, zippers: plating even, no sharp edges, logos crisp if custom. Then the underrated test — smell. A sharp chemical odor suggests solvent-heavy adhesives or finishes that may fail your market's chemical testing; quality materials smell like leather, not a paint shop.
3. Stitching & Construction (Check 5–8)
- 5. Stitch density and evenness. Stitches per inch should be consistent along every seam — no visibly stretched or compressed sections, which telegraph rushing.
- 6. Skipped and loose threads. Run your eye along every seam end. Skipped stitches and loose thread ends are small on a sample and multiply on a production line.
- 7. Cement lines. Where the outsole meets the upper, the glue line should be invisible: no squeeze-out, no gaps, no shiny residue. Press the sole edge with a thumb — any give means weak bonding now, separation later.
- 8. Symmetry and alignment. Put both shoes side by side: toe shape, heel height, logo placement, eyelet rows. Left and right should be mirror images. A sample pair that isn't symmetrical warns you about pattern discipline.
4. Fit & Sizing (Check 9–12)
- 9. Try the actual size run logic. Don't just try your own size. If your order spans EU 36–42, test the smallest and largest samples — grading errors hide at the extremes, not the middle.
- 10. Toe box and instep volume. Fashion lasts sometimes trade comfort for silhouette. Can toes splay? Does the instep press? For work and uniform shoes especially, this decides whether the wearer complains by day three.
- 11. Heel slip. Walk ten steps. A few millimeters of heel lift is normal in new leather shoes; a sliding heel is a last-shape problem that no insole will fix.
- 12. Flex point. The shoe should bend where the foot bends — at the ball, not the mid-arch. A mid-arch flex means the last geometry is off, and wearers will feel it as fatigue.
5. Packaging & Paperwork (Check 13–15)
- 13. Inner box and wrapping. If you ordered custom boxes, check board weight, print registration and the tissue or dustbag. The unboxing is part of your product if you sell DTC.
- 14. Outer carton and marks. Carton quality decides whether your shoes survive the container. Confirm the shipping marks now — correcting a printed carton at the port is a special kind of pain.
- 15. Labels, tags and compliance marks. Size labels, material composition labels, care instructions, your hangtags — and for the EU, the labeling your market requires. This is also the moment to line up any chemical or physical testing on production materials, so the report is in hand before goods ship (our REACH quick guide covers what to ask for).
6. How to Document the Sign-Off
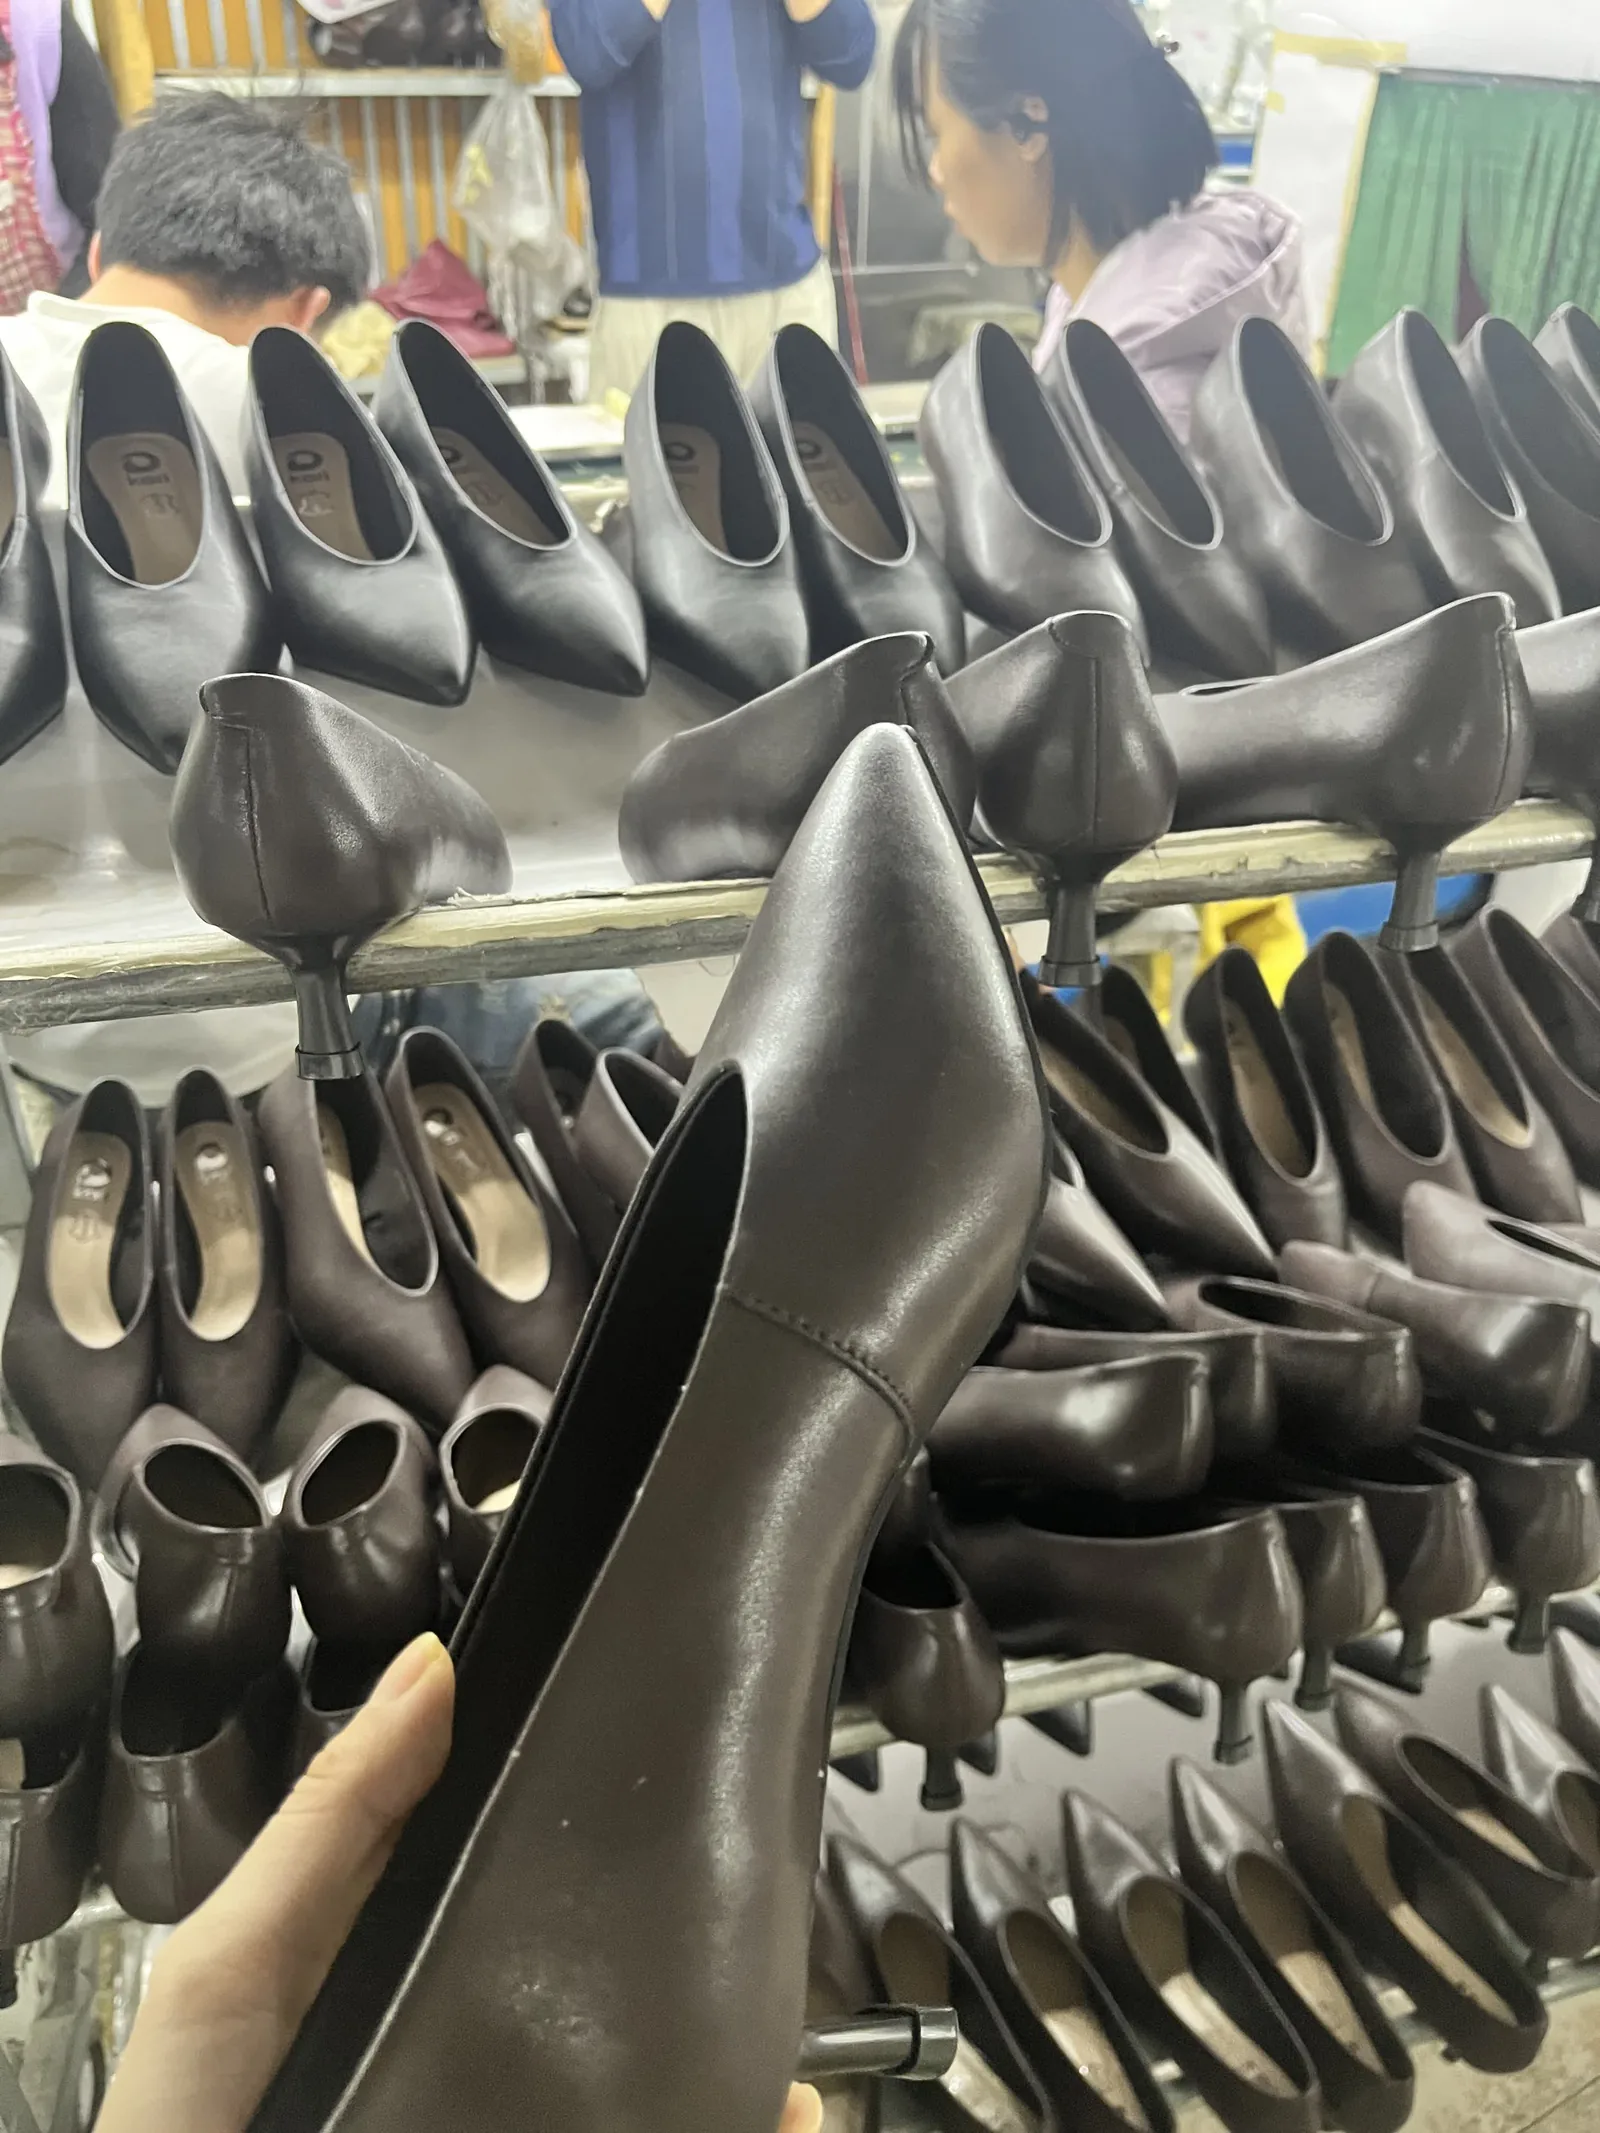
An approval that isn't documented is an opinion. Do it properly:
- Photograph everything — the approved shoe from all angles, the materials close-up, the packaging, with a dated note of what was approved and what was conditionally approved pending a fix.
- Seal two reference samples. Sign and date two identical approved pairs (or mark them with an agreed code): one stays with you, one stays on the factory floor next to the production line. This is the "sealed sample" — the physical contract.
- Write the match clause. One sentence in the order confirmation does the work: bulk production must match the sealed sample, and arrival inspection will be conducted against it. Any factory confident in its consistency will agree without blinking — ours signs it as standard.
At a Glance
- The approved sample is the contract — everything unchecked is implicitly approved
- Materials (1–4): grain & finish, color under two lights, lining & insole, hardware & smell
- Construction (5–8): stitch density, skipped threads, cement lines, left-right symmetry
- Fit (9–12): test the size extremes, toe box volume, heel slip, flex point at the ball
- Packaging (13–15): inner box, outer carton & shipping marks, labels & compliance marks
- Seal it: photos, two signed reference samples (yours + factory floor), and a written match clause in the order
Questions Buyers Ask
"The sample is perfect — but how do I know bulk production will match it?"
That is exactly what the sealed sample is for. Sign and date two identical approved samples — one stays with you, one stays on the factory floor — and write into the order that bulk production must match the sealed sample. Arrival inspection then checks production against that reference, not against anyone's memory.
"If I want changes after seeing the sample, does that cost extra?"
Revision rounds are part of sampling and are confirmed per style when the sample fee is quoted. Small adjustments — a different lining, a hardware swap — are usually quick; changing the pattern or the last is closer to a new development. Ask for the revision policy in writing when the sample is quoted.
"Can I use the sample shoes as sales samples or for photoshoots?"
Yes — many buyers do exactly that, and it is a smart way to pre-sell while bulk production runs. Just note that a development sample is made with extra handwork; treat it as the quality ceiling you approved, and expect bulk to match it, not exceed it.
Start with a Sample You Can Sign Off On
Existing styles sample in days; new developments in 7–12 days. Tell us your style list — we will get the first sample moving this week.
Get a Wholesale Quote Send an Inquiry